

I want to create a bass instrument that blends elements from all traditional basses, combining their unique qualities into one. This bass will not only have an exceptional sound but also feature a innovative design that stands out.
I went through nearly 10 3D model versions of the bass, with each iteration involving a detailed process. I would model the body, check the dimensions to ensure accuracy, assess the overall look, and then refine the design by fixing any dimensional issues. This cycle of modeling, verification, and adjustment was key to achieving the right balance in both aesthetics and functionality.
I also encountered challenges while building the actual bass, particularly with wiring the humbuckers and determining how the wires would connect to the control section. Determining the correct placement and routing of the wires was crucial to ensure that everything functions properly and maintains a clean appearance. Each connection needed to be precise to avoid any issues with sound quality or functionality.
I connected with a friend who introduced me to someone with access to a CNC wood machine. Their support was invaluable throughout the process, helping me bring my design to life with precision and efficiency. The CNC machine allowed for accurate cuts and shapes, transforming my design into real life.
After the CNC cutting was complete, I moved on to purchasing the necessary components like the bass bridge and other hardware. For the metal parts, I chose GOTOH for the bass bridge due to their reputation for quality and durability. I also selected a MEC JH humbucker for its excellent tonal range and reliability. These choices were essential in ensuring the bass would not only look great but also perform at a high level.
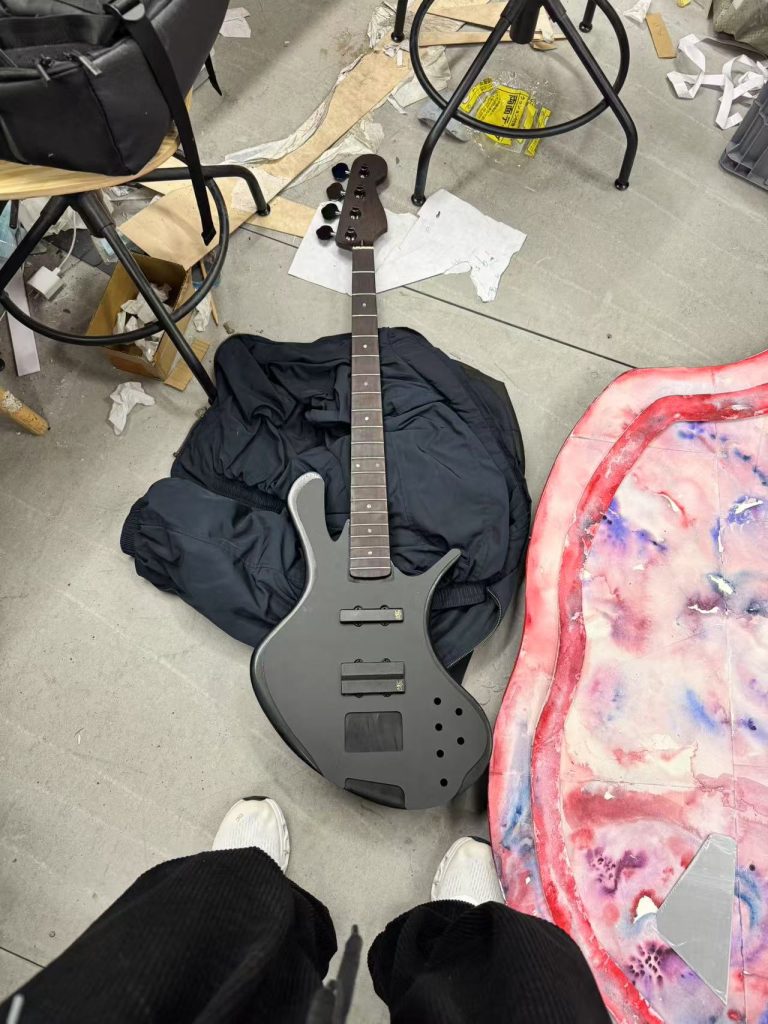
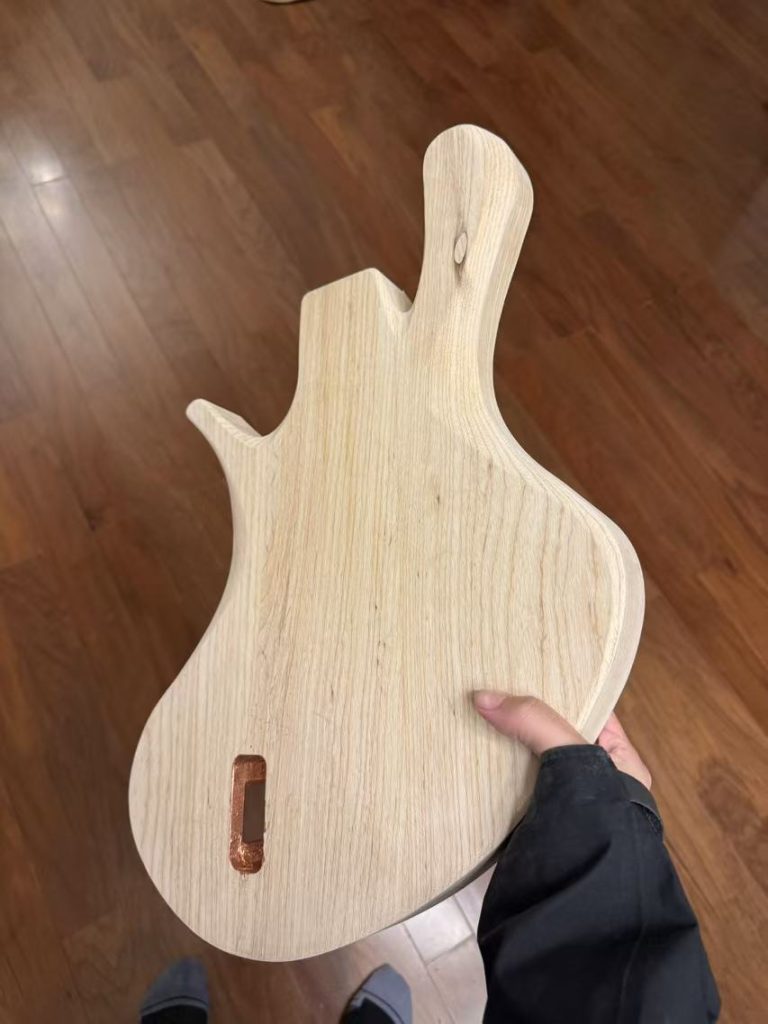
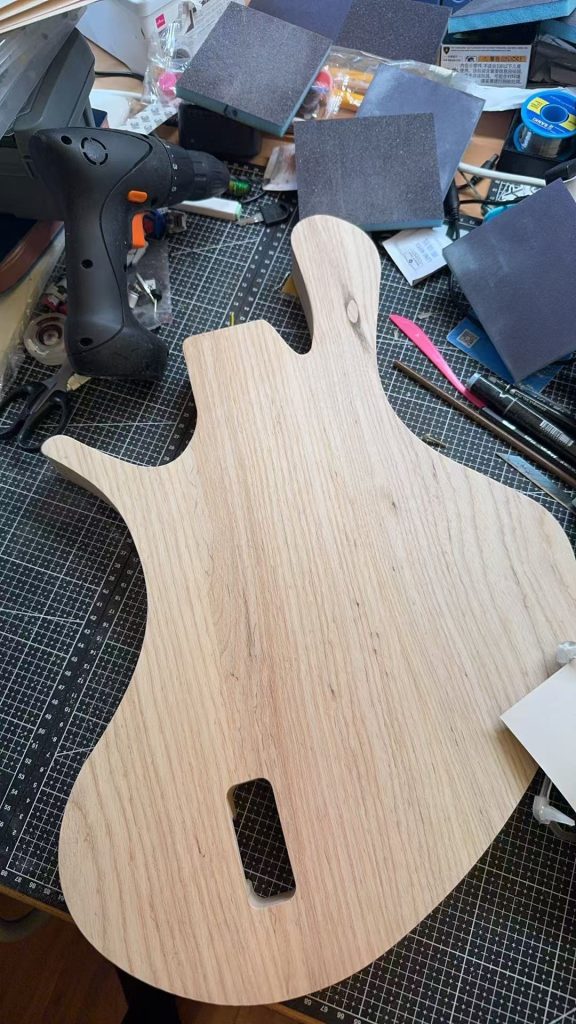
When the finished bass came to me, it was astonishing to see and touch. Experiencing three months of 3D design work materialize into a real instrument felt almost surreal. Holding it in my hands and observing the details and craftsmanship brought an incredible sense of fulfillment and excitement, making all the effort worthwhile. It was truly like stepping into another world!
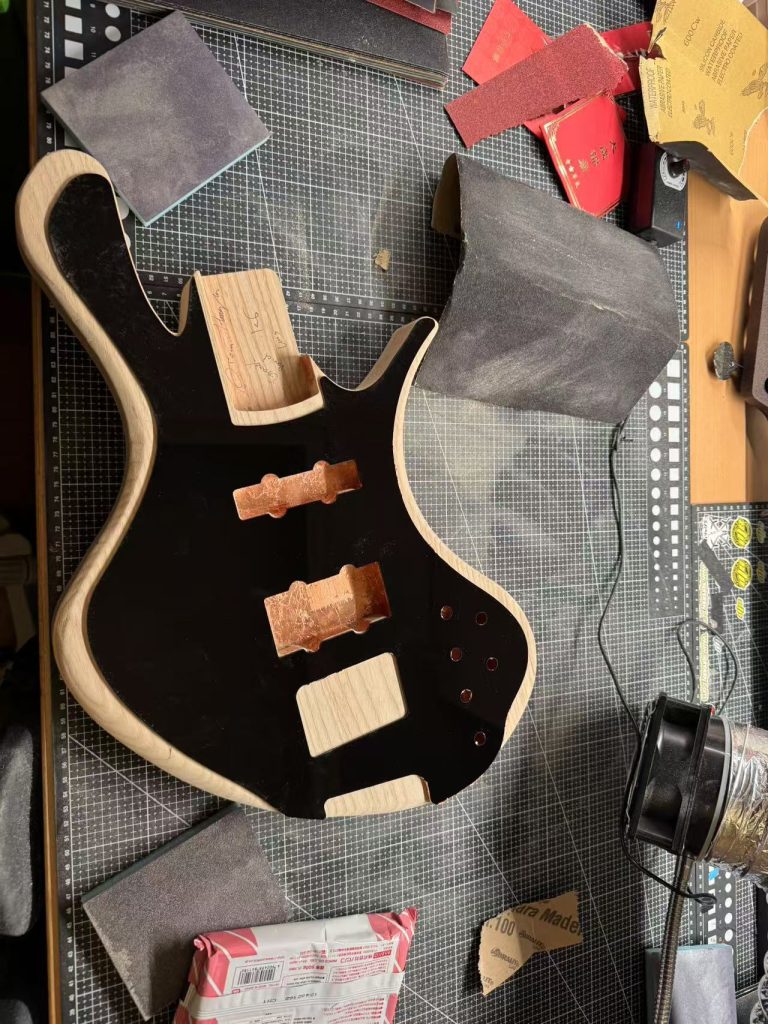
I started sanding the bass body, ensuring every part was smooth and clean. This step was crucial for preparing the surface for the paint job, as it would help the paint adhere better and result in a more professional finish. I took my time to make sure every detail was perfect, readying the bass for its final aesthetic transformation.
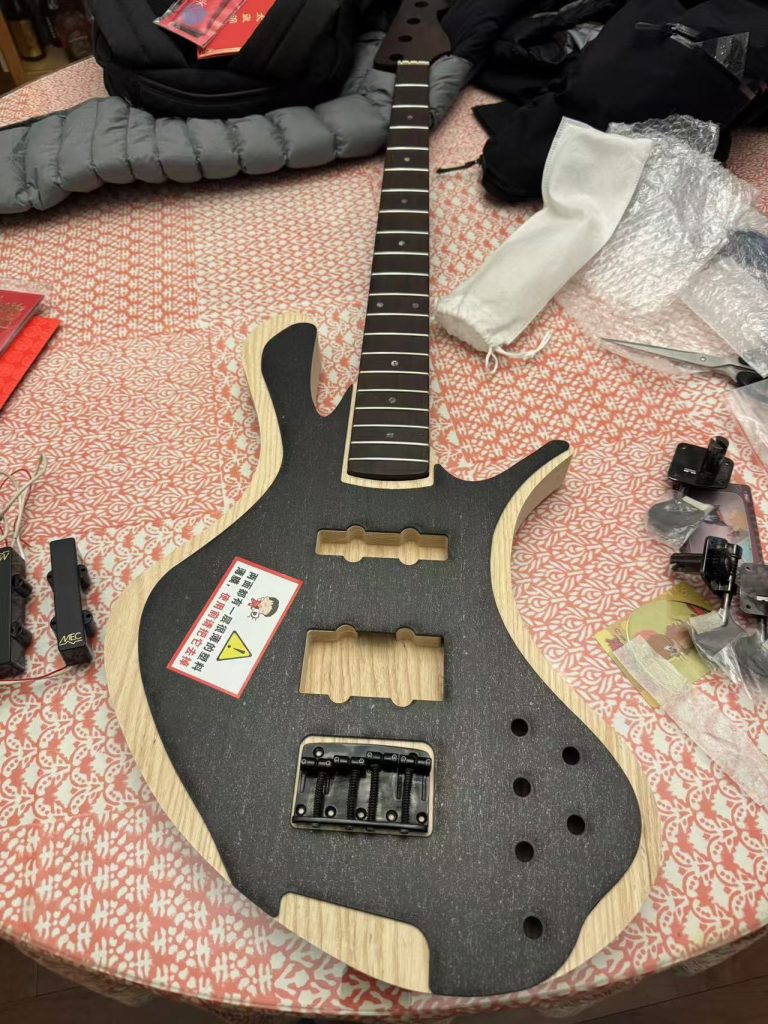
Before the full paint job, I decided to assemble all the components to check if they fit together perfectly. Thankfully, everything came together seamlessly! It was a huge relief to see all my hard work pay off, and it gave me confidence moving forward with the painting process. Ensuring everything fit well was a crucial step in making sure the final product would not only look good but also perform as intended.
The first step in the painting process was to apply the basic layer of primer. I wanted to ensure that the color paint wouldn’t penetrate into the wood, which could cause it to become wet and ultimately undryable. To do this, I carefully applied an even coat of primer, making sure every inch of the surface was covered.
This layer not only provided a barrier for the wood but also helped to enhance the vibrancy of the final color. I was meticulous about checking for any drips or uneven spots, as these could affect the overall look later on. Watching the primer dry gave me a sense of anticipation, as I knew it was the first step toward bringing my vision to life. With each careful stroke, I felt like I was one step closer to creating something truly special.
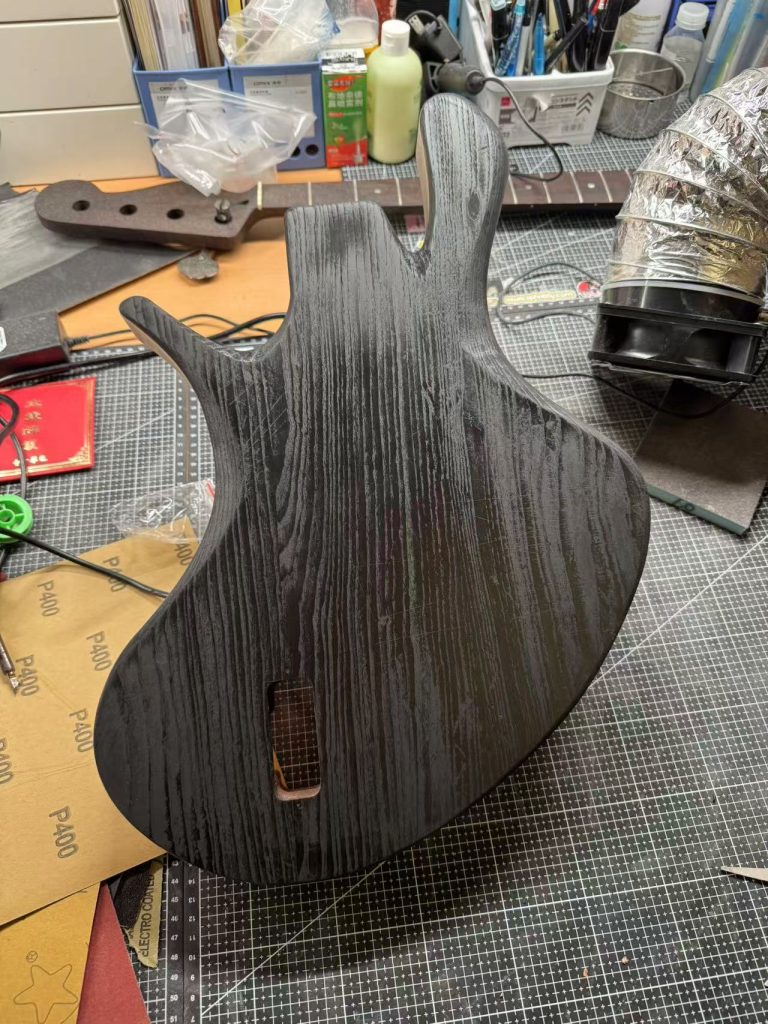
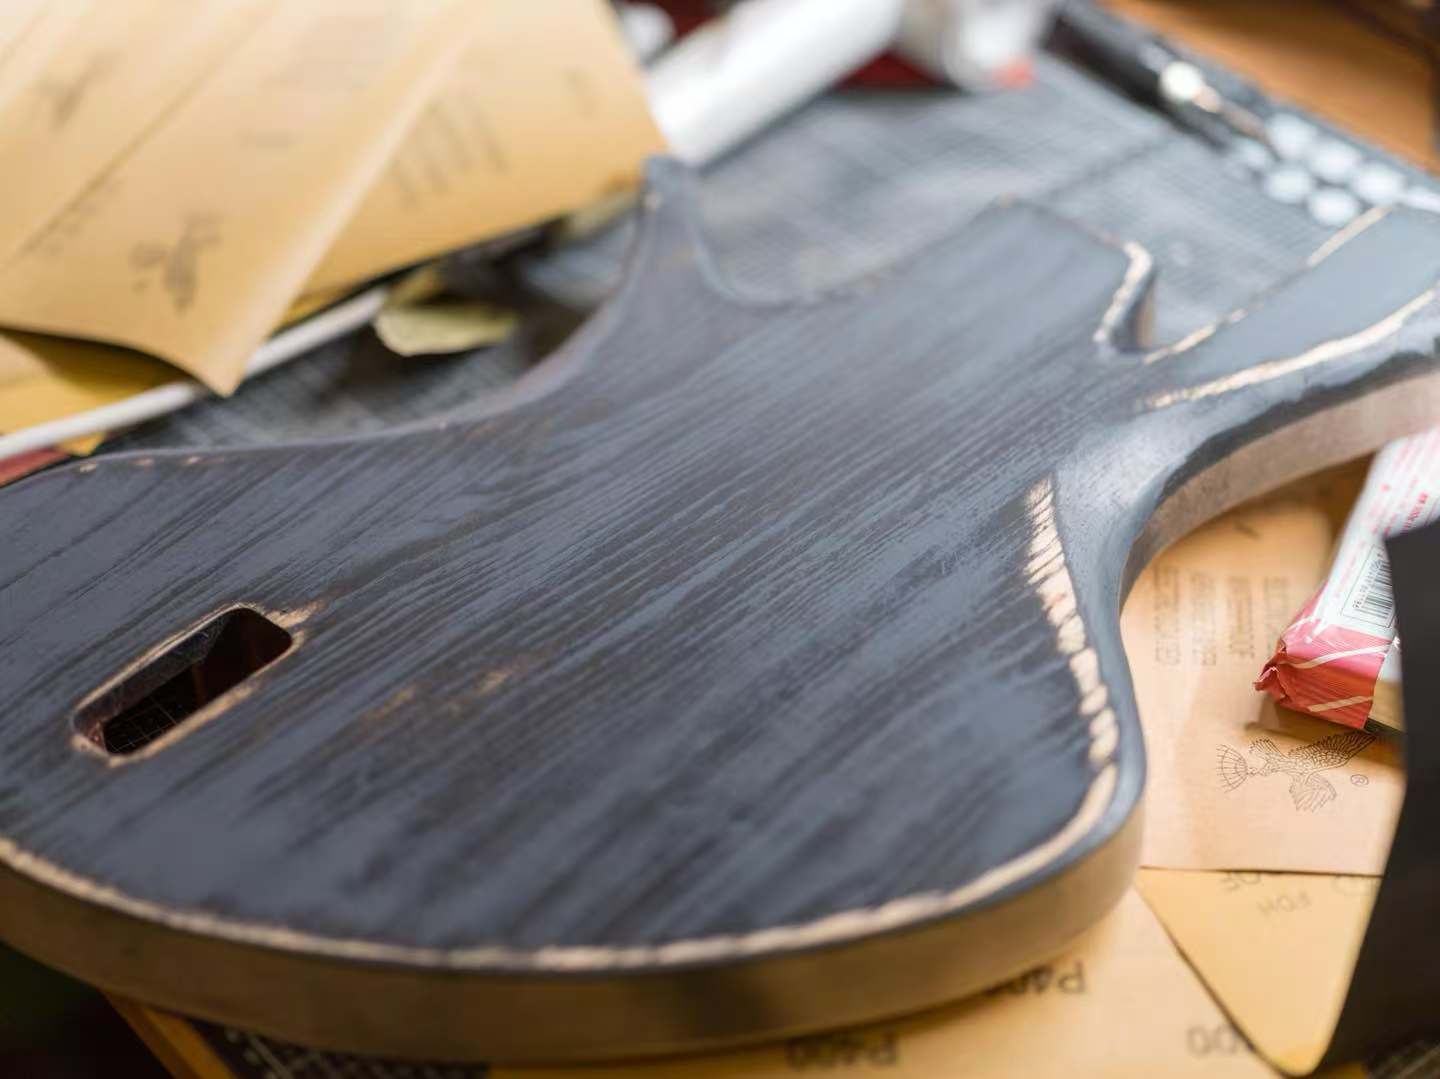
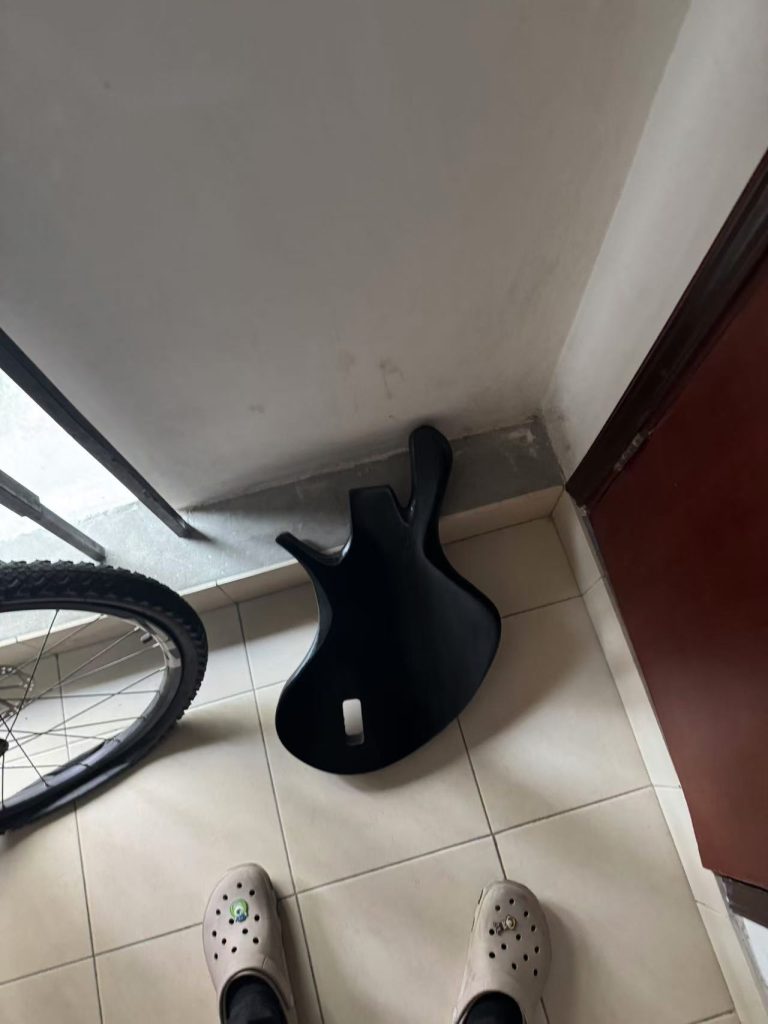
Once the primer was dry, I moved on to applying the color layer to achieve a clean black finish. I took my time with this step, using a spray gun for an even application to avoid streaks or uneven patches. The rich black color I chose would not only enhance the aesthetics but also give the bass a sleek, professional look.
As I painted, I made sure to cover all areas thoroughly, ensuring there were no spots left unpainted. I also worked in thin layers, allowing each coat to dry completely before applying the next. This approach helped me achieve that smooth, glossy finish I was aiming for. Seeing the bass body transform into a deep black was incredibly rewarding, and it really brought out the contours and features I had worked so hard on during the crafting process.
At last, after all that effort and meticulous sanding, I achieved a clean, smooth finish. It felt incredibly satisfying to see the results of my hard work. The surfaces were now flawless, giving everything a polished look that I had been striving for. This final touch really made a difference, and I was excited to move on to the next stage of the project, knowing that I had laid a solid foundation.
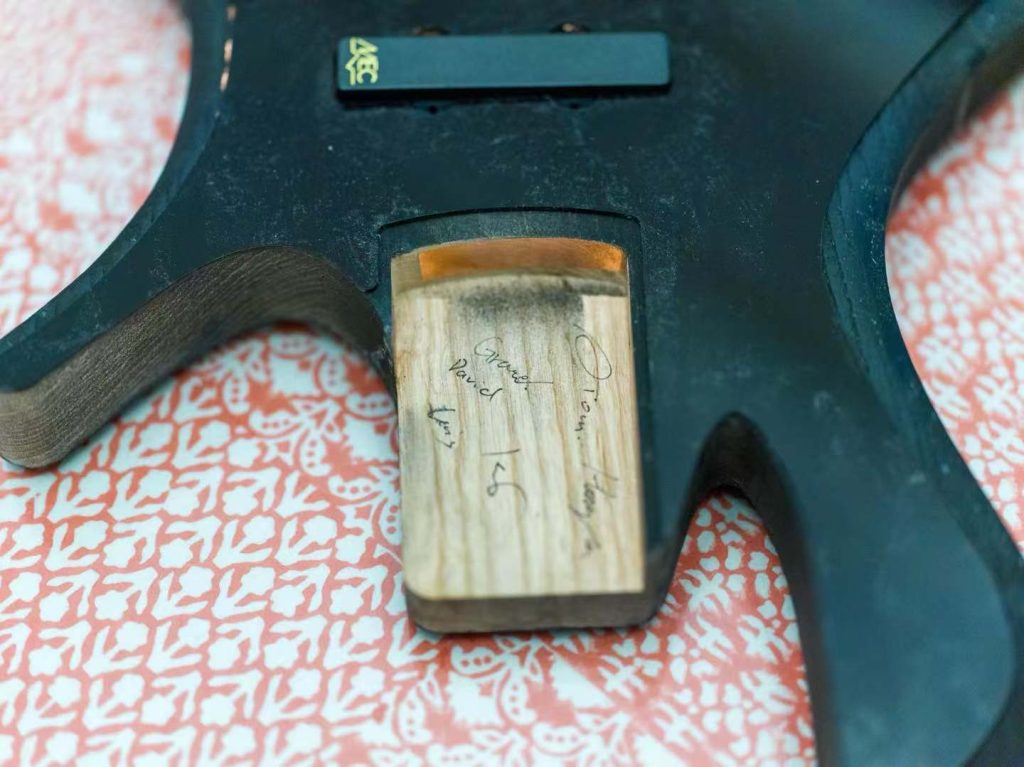
The last step was combining all the parts together, but I encountered a lot of problems along the way. One of the biggest issues was that the screws kept getting loose every time I tried to secure them. It was frustrating because I had to constantly check and tighten them, which slowed down the process. Despite these challenges, I remained determined to get everything assembled properly, knowing that each piece needed to fit together perfectly for the final result to be successful.
The final look is truly a work of art, featuring a seamless flow of curves on the body and clean cuts that define the project. Every detail contributes to its overall aesthetic, showcasing both craftsmanship and design elegance. I’m really pleased with how it turned out!